Visualizing paths in Unreal
[ue4 c++ I’m continuing my experiments with the Unreal Engine navigation system, this time around I’m working on visualizing the path the character will follow. In my last blog post I described a component for finding and following paths - in this post I will talk about a component for showing the path.
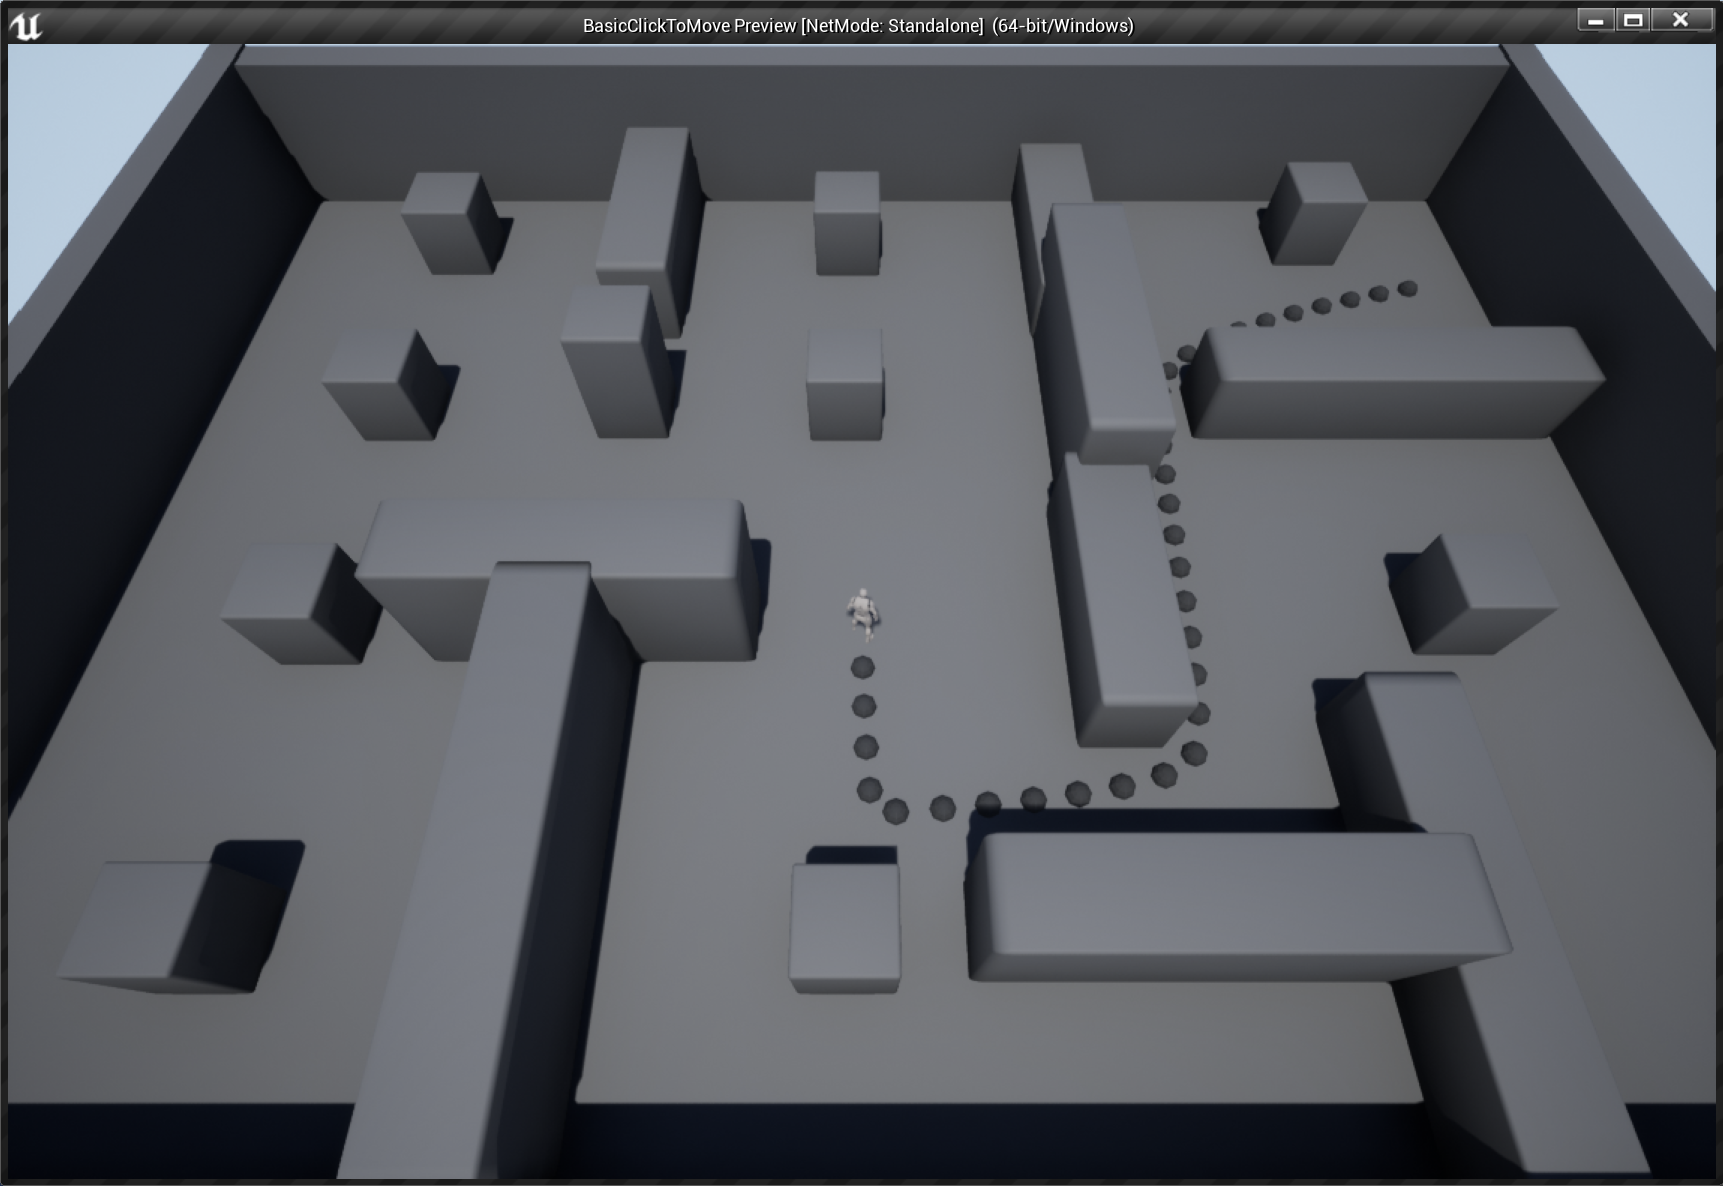
Here is an example of how this looks, using a simple sphere for the mesh, with a default material:

PathVisualizer component
The path visualizer component shows the path as a series of dots following the path. This is easy to achieve with the help of a Spline component, and a Hierarchical Instanced Static Mesh component.
The path visualizer also has a field for controlling the distance between points.
UCLASS( ClassGroup=(Custom), meta=(BlueprintSpawnableComponent) )
class BASICCLICKTOMOVE_API UPathVisualizerComponent : public USceneComponent
{
  GENERATED_BODY()

public:
  UPathVisualizerComponent();

  UFUNCTION(BlueprintCallable)
  void SetWaypoints(const TArray<FVector>& Waypoints);

  UPROPERTY(EditAnywhere, BlueprintReadWrite)
  float DistanceBetweenPoints;

protected:
  UPROPERTY(VisibleAnywhere, BlueprintReadOnly)
  USplineComponent* Path;

  UPROPERTY(VisibleAnywhere, BlueprintReadOnly)
  UHierarchicalInstancedStaticMeshComponent* Mesh;

protected:
  void SetupSpline(const TArray<FVector>& Waypoints);
  void SetupMesh();
};
The path visualizer component constructor creates instances of the nested components.
UPathVisualizerComponent::UPathVisualizerComponent() :
  DistanceBetweenPoints(100.0f)
{
  Path = CreateDefaultSubobject<USplineComponent>(TEXT("Path"));
  Mesh = CreateDefaultSubobject<UHierarchicalInstancedStaticMeshComponent>(TEXT("Mesh"));
  Mesh->NumCustomDataFloats = 1;
}
Set up the spline
The spline gives us an easy way to get locations along the path. I set the spline point type to CurveClamped - this gives us some smoothing of the curve along the points but avoids the strange loops that can occur in sharp turns.
void UPathVisualizerComponent::SetupSpline(const TArray<FVector>& Waypoints)
{
  Path->ClearSplinePoints(false);
  float Index = 0.0f;
  for (FVector Point : Waypoints)
  {
    FSplinePoint SplinePoint(Index, Point, ESplinePointType::CurveClamped);
    Path->AddPoint(SplinePoint, false);
    Index += 1.0f;
  }
  Path->UpdateSpline();
}
Set up the mesh
The instanced static mesh component is perfect for rendering multiple instances of the same mesh multiple times. The loop below adds an instance on points along the spline, with the given distance between points. As well as adding an instance, I set a custom data value for each instance to the proportion of the path length of the location. This value can be accessed in the material used for rendering the path markers, so they can vary their appearance based on where they are along the path.
void UPathVisualizerComponent::SetupMesh()
{
  Mesh->ClearInstances();
  float Length = Path->GetSplineLength();

  int NumPoints = FMath::RoundToInt(Length / DistanceBetweenPoints);

  float D = DistanceBetweenPoints;
  for (int PointIndex = 0; PointIndex < NumPoints; ++PointIndex)
  {
    FVector Location = Path->GetLocationAtDistanceAlongSpline(D, ESplineCoordinateSpace::World);
    FTransform Transform(Location);
    Mesh->AddInstance(Transform);
    Mesh->SetCustomDataValue(PointIndex, 0, D / Length);
    D += DistanceBetweenPoints;
  }
}

void UPathVisualizerComponent::SetWaypoints(const TArray<FVector>& Waypoints)
{
  SetupSpline(Waypoints);
  SetupMesh();
}
Animating the path
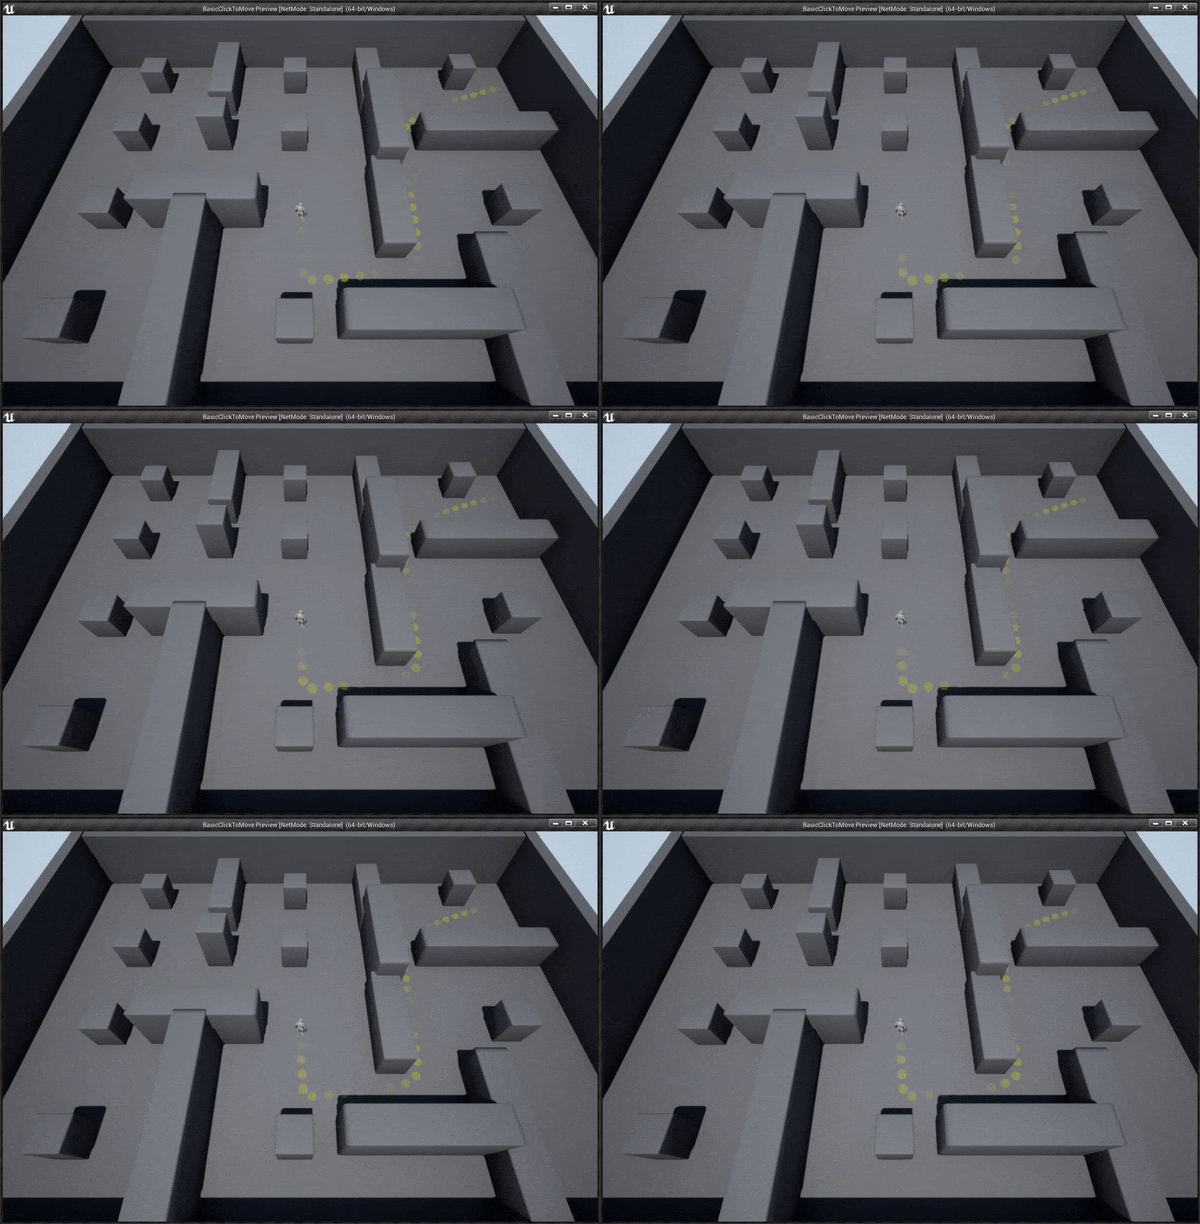
Let’s take a look how to animate the path, using a material that uses the custom data for each instance. By using a sine wave based on Time that is offset with that value, we get a pulse that moves along the path:

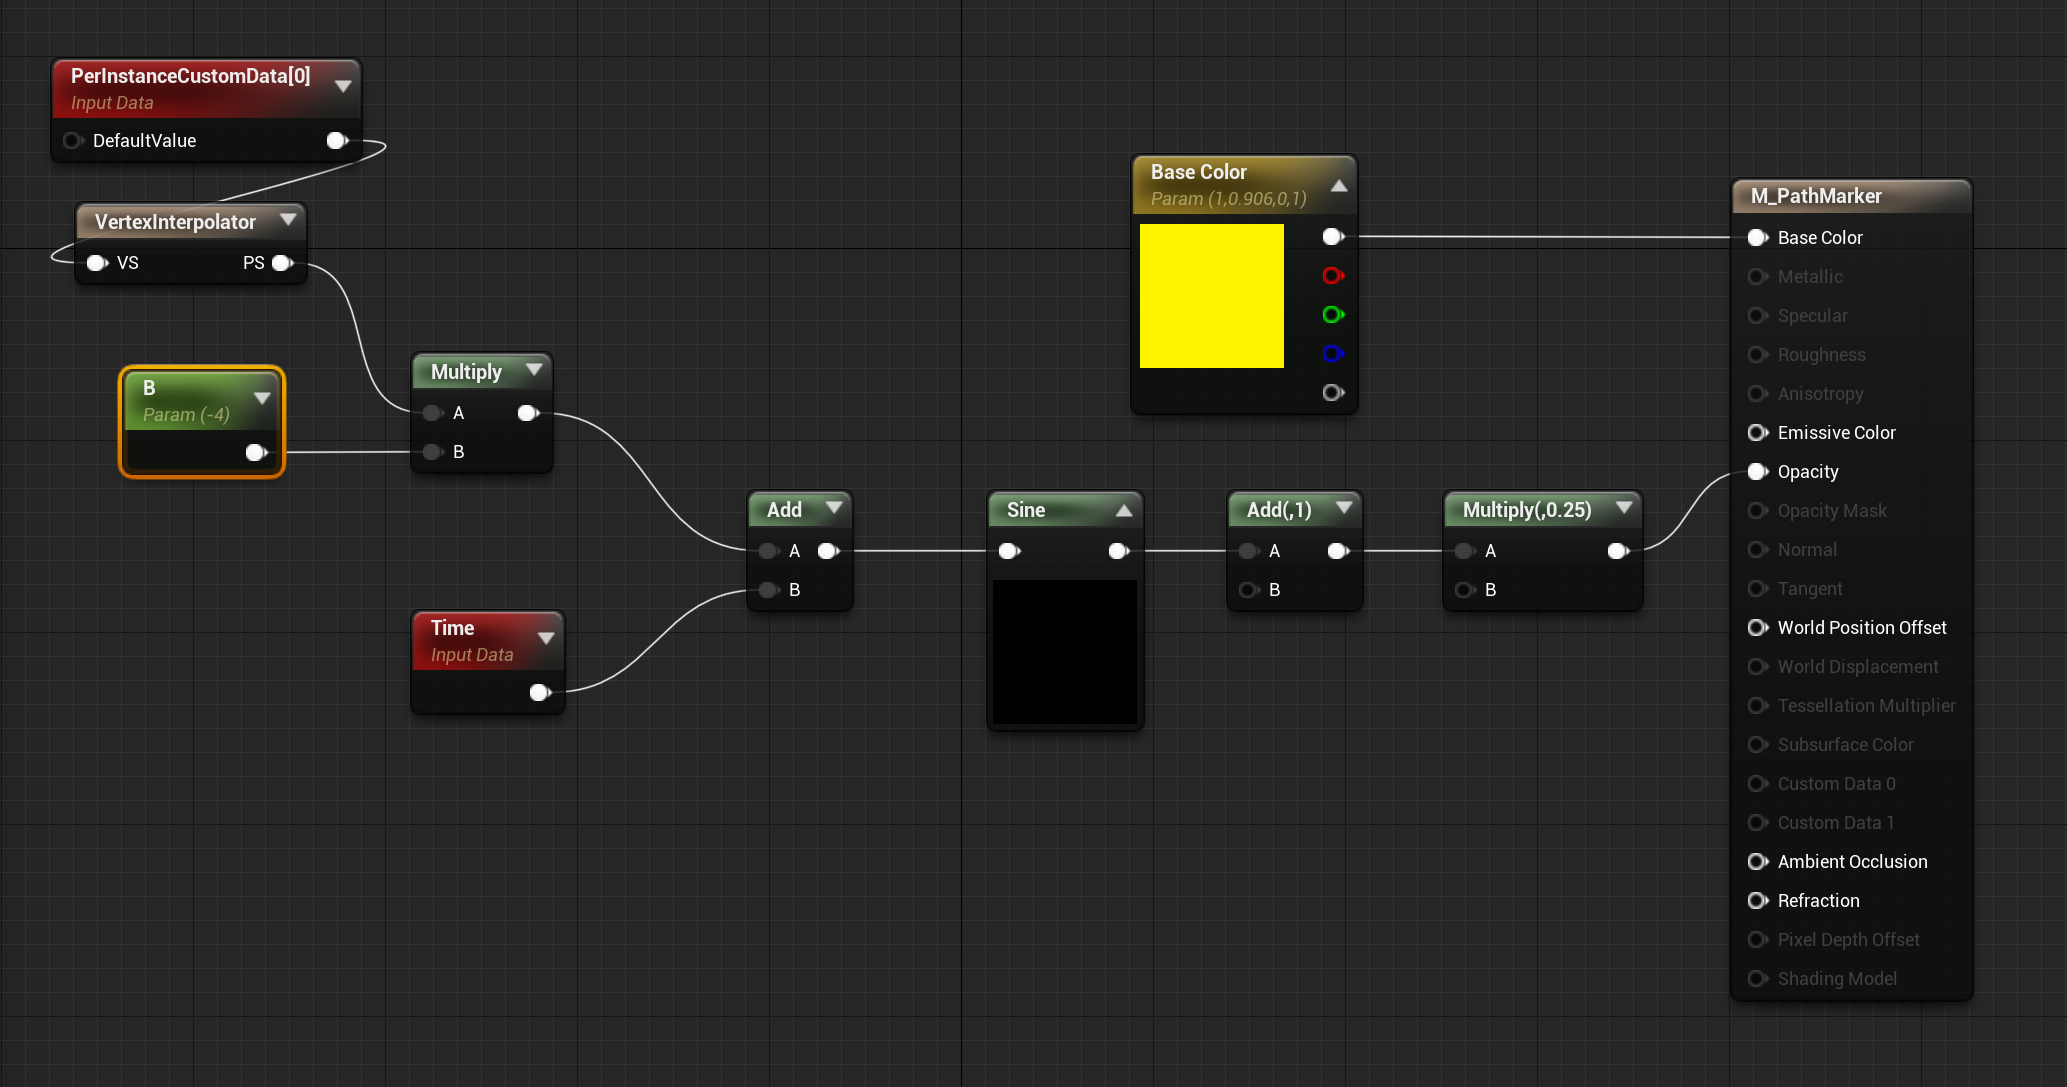
Here is the material blueprint:

The material is quite simple, and uses opacity to pulsate each marker over time. There is a material parameter that scales the custom data value that effectively controls the speed of the wave over the path. Negating that scaling factor changes the direction of the wave.
Get the code
The code for this project lives on GitHub:
https://github.com/snorristurluson/BasicClickToMove
You can download an executable demo for Windows here: Demo
Feedback is always appreciated!
